Hey there tech-savvy friend! You’ve probably noticed how IoT devices have become like superheroes in our everyday lives. From smart thermostats keeping your home comfy to security cameras watching over your front door, these gadgets are changing the game. But here’s the thing: sometimes you need to access them remotely, and doing it on a Mac can feel like navigating a maze. How to access IoT device remotely on Mac without free? That’s exactly what we’re diving into today. So buckle up because this ride’s gonna be epic!
Imagine this: you’re chilling at a coffee shop or maybe even on vacation, and suddenly you need to check if you turned off the smart lights back home. Or worse, you forgot to lock the door using your smart lock. Accessing your IoT devices from afar is not just convenient—it’s essential. But here’s the catch: most solutions out there either cost an arm and a leg or come with strings attached. Lucky for you, we’ve got the scoop on how to do it right and keep your wallet happy.
This guide isn’t just another tech blabberfest. It’s packed with real-world tips, step-by-step instructions, and some cool tricks to make remote IoT access on your Mac as smooth as butter. Whether you’re a beginner or a seasoned pro, there’s something here for everyone. So let’s get started, shall we?
Read also:Patrice Evra The Untold Story Of A Football Legend
Table of Contents
- Introduction
- What is IoT and Why Does It Matter?
- Why Choose Mac for Remote IoT Access?
- Top Methods to Access IoT Devices Remotely on Mac
- Using SSH for Secure Remote Access
- Exploring VNC for Remote Control
- Third-Party Tools That Won’t Burn a Hole in Your Pocket
- Security Best Practices for Remote IoT Access
- Common Issues and How to Fix Them
- Wrapping It All Up
What is IoT and Why Does It Matter?
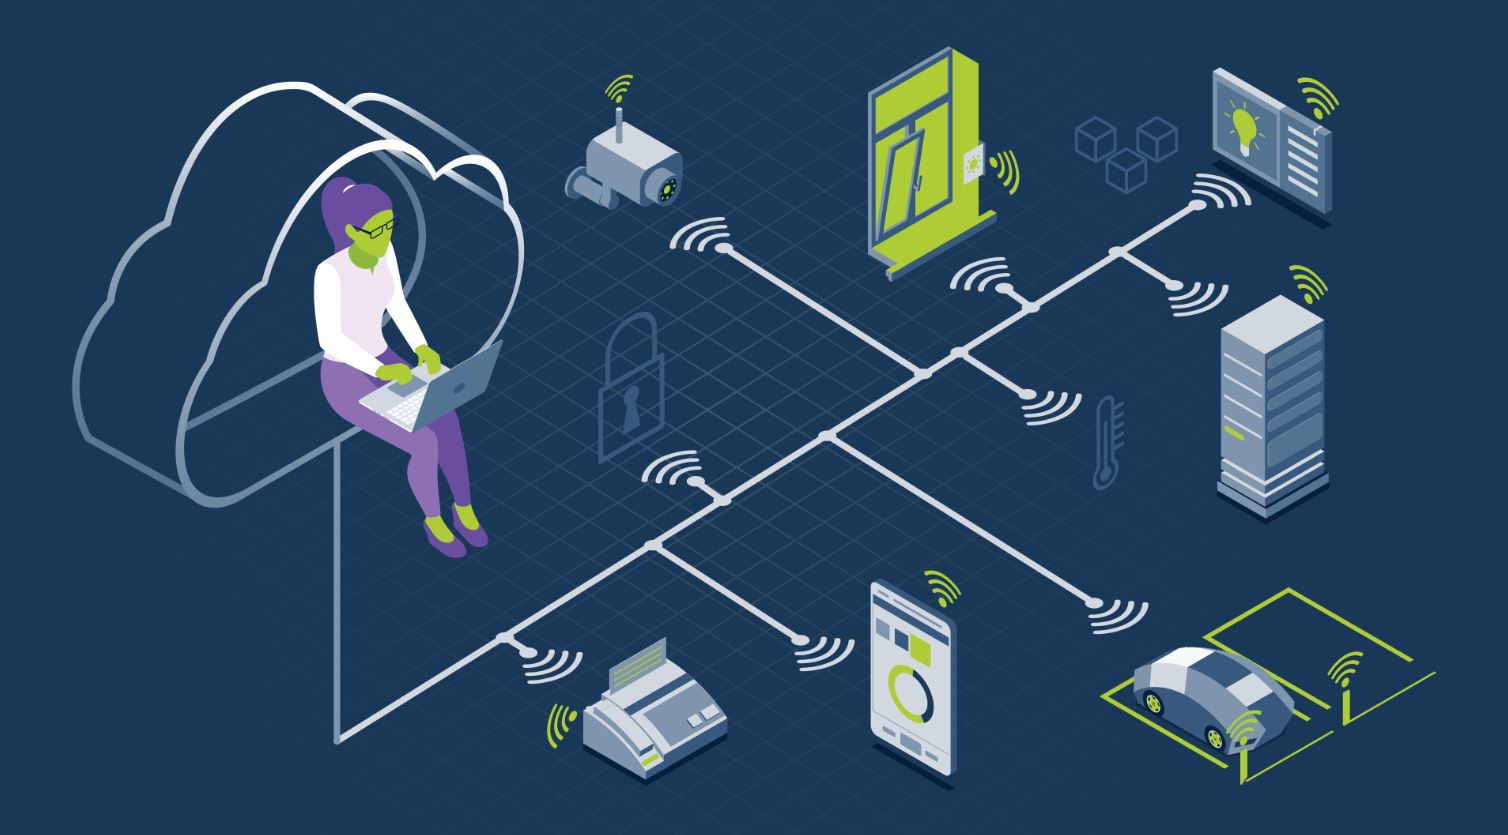
Alright, before we dive headfirst into the nitty-gritty of remote access, let’s take a sec to talk about IoT—or the Internet of Things. Simply put, IoT refers to the network of physical devices, vehicles, home appliances, and other gadgets that are embedded with sensors, software, and connectivity features. These devices can communicate with each other and share data over the internet. Cool, right?
IoT isn’t just a buzzword; it’s a game-changer. Think about it: your fridge can tell you when you’re running low on milk, your car can find the nearest gas station, and your thermostat can adjust the temperature based on your schedule. But here’s the kicker: to truly harness the power of IoT, you need to be able to access these devices from anywhere. And that’s where remote access comes in.
Why Remote Access Matters
Remote access to IoT devices isn’t just about convenience—it’s about control. Whether you’re managing a smart home, monitoring industrial equipment, or keeping an eye on your pet cam, having the ability to access your devices remotely gives you peace of mind. Plus, it saves you time and money by eliminating the need to physically be present to make changes or check on things.
Why Choose Mac for Remote IoT Access?
Now, you might be wondering why we’re focusing on Macs. Well, here’s the deal: Macs come with some pretty sweet built-in features that make remote access a breeze. Plus, they’re known for their security and stability, which is crucial when dealing with sensitive IoT devices. Let’s break it down:
- Built-in SSH and Terminal: Macs have a command-line interface that’s perfect for setting up secure connections.
- Compatibility with Open Source Tools: There’s a ton of free and open-source software that works seamlessly with Macs.
- Strong Security Features: Apple takes security seriously, which means your data is safer when you use a Mac for remote access.
Don’t get me wrong—Windows and Linux are great too, but if you’re a Mac user, you’re in luck. Let’s explore some of the best ways to access your IoT devices remotely on a Mac without spending a fortune.
Top Methods to Access IoT Devices Remotely on Mac
There are several ways to access your IoT devices remotely on a Mac, and we’re going to cover the top ones. From using built-in tools to leveraging third-party software, you’ve got options. Let’s dive in!
Read also:Catriona Gray And Sam Milby Split The Inside Story You Need To Know
1. Using SSH
SSH, or Secure Shell, is a protocol that allows you to securely connect to remote devices. It’s perfect for accessing IoT devices that have a command-line interface. Here’s how you can set it up:
- Open Terminal on your Mac.
- Type
ssh username@ip_addressand hit Enter. - Enter your password when prompted.
Voilà! You’re now connected to your IoT device. SSH is not only secure but also free, making it a great option for budget-conscious users.
2. Exploring VNC
If you prefer a graphical interface, VNC (Virtual Network Computing) is the way to go. VNC allows you to remotely control another computer or device as if you were sitting right in front of it. Here’s how to set it up:
- Install a VNC client on your Mac (there are plenty of free options available).
- Enter the IP address of your IoT device and connect.
VNC is great for devices with a GUI, but keep in mind that it might not be as secure as SSH. Always use strong passwords and encryption when using VNC.
3. Third-Party Tools
Sometimes, built-in tools just don’t cut it. That’s where third-party software comes in. There are tons of great tools out there that can help you access your IoT devices remotely without breaking the bank. Some popular options include:
- NoMachine: Offers fast and secure remote access with a user-friendly interface.
- TeamViewer: A powerful tool that’s free for personal use.
- ngrok: Great for creating secure tunnels to your local IoT devices.
These tools are easy to set up and offer a ton of features, making them a great choice for both beginners and advanced users.
Using SSH for Secure Remote Access
Let’s dive deeper into SSH because it’s one of the most reliable methods for remote access. SSH encrypts all data transmitted between your Mac and the IoT device, ensuring that your connection is secure. Here’s a step-by-step guide to setting up SSH:
Step 1: Enable SSH on Your IoT Device
Most IoT devices have SSH enabled by default, but if yours doesn’t, you’ll need to enable it. Check the device’s manual or manufacturer’s website for instructions.
Step 2: Find the IP Address
You’ll need the IP address of your IoT device to connect via SSH. This is usually found in the device’s settings or through your router’s admin panel.
Step 3: Connect Using Terminal
Open Terminal on your Mac and type the following command:
ssh username@ip_address
Replace username with your IoT device’s username and ip_address with the device’s IP address. Hit Enter and enter your password when prompted.
That’s it! You’re now connected to your IoT device via SSH. Easy peasy, right?
Tips for Secure SSH Connections
While SSH is secure by default, there are a few things you can do to make it even more secure:
- Use strong, unique passwords.
- Enable two-factor authentication if supported.
- Limit access to specific IP addresses if possible.
Exploring VNC for Remote Control
VNC is another powerful tool for remote access, especially if you prefer a graphical interface. Here’s how to set it up:
Step 1: Install a VNC Client
There are plenty of VNC clients available for Mac. Some popular options include RealVNC, TightVNC, and UltraVNC. Choose one that suits your needs and install it on your Mac.
Step 2: Configure Your IoT Device
You’ll need to enable VNC on your IoT device. Again, check the device’s manual or manufacturer’s website for instructions.
Step 3: Connect via VNC
Open your VNC client and enter the IP address of your IoT device. You’ll be prompted to enter a password if one is set. Once connected, you’ll have full control over your device as if you were there in person.
VNC Security Tips
While VNC is convenient, it’s not as secure as SSH. To keep your connection safe:
- Use strong passwords and encryption.
- Limit access to trusted networks.
- Regularly update your VNC software to patch any vulnerabilities.
Third-Party Tools That Won’t Burn a Hole in Your Pocket
Third-party tools can offer a ton of features that built-in tools might lack. Here are some of the best options:
NoMachine
NoMachine is a powerful remote access tool that offers fast and secure connections. It’s free for personal use and has a user-friendly interface, making it a great choice for beginners.
TeamViewer
TeamViewer is another popular option that’s free for personal use. It’s easy to set up and offers a ton of features, including file transfer and remote printing.
ngrok
ngrok is a great tool for creating secure tunnels to your local IoT devices. It’s free for basic use and offers a ton of customization options for advanced users.
Security Best Practices for Remote IoT Access
Security is paramount when it comes to remote IoT access. Here are some best practices to keep your devices safe:
- Use Strong Passwords: Avoid using common passwords and consider using a password manager.
- Enable Encryption: Always use encrypted connections whenever possible.
- Keep Software Updated: Regularly update your IoT devices and remote access software to patch any vulnerabilities.
- Limit Access: Restrict access to trusted devices and networks.
By following these practices, you can ensure that your IoT devices remain secure even when accessed remotely.
Common Issues and How to Fix Them
Even the best-laid plans can hit a snag. Here are some common issues you might encounter when accessing IoT devices remotely on a Mac and how to fix them:
Connection Issues
Symptoms: Unable to connect to your IoT device.
Solutions:
- Check the IP address and make sure it’s correct.
- Ensure that SSH or VNC is enabled on the device.
- Restart both your Mac and the IoT device.
Slow Connections
Symptoms: Laggy or slow remote access.
Solutions:
- Check your internet speed and ensure it’s sufficient for remote access.
- Try using a wired connection instead of Wi-Fi.
- Optimize your VNC settings for faster performance.
Wrapping It All Up
There you have it—your ultimate guide to accessing IoT devices remotely on a Mac without spending a dime. Whether you’re using SSH, VNC, or third-party tools, there’s a method out there that suits your needs. Remember, security is key, so always follow best practices to keep your devices safe.
Now it’s your turn!