Hey there, tech enthusiasts! If you're diving into the world of Internet of Things (IoT), you've probably come across SSH remote IoT commands. These commands are your golden ticket to managing and controlling IoT devices remotely, ensuring smooth operations from anywhere in the world. But hold your horses—there’s a lot more to SSH than just logging in. In this guide, we’ll break down everything you need to know about SSH remote IoT commands, from the basics to advanced tips that’ll make you a pro in no time.
Now, before we jump into the nitty-gritty, let’s address the elephant in the room. SSH (Secure Shell) is not just some random acronym—it’s a powerful protocol that secures communication between devices over a network. And when it comes to IoT, where devices are scattered across locations, SSH becomes a lifesaver. Think of it as the superhero cape for your IoT gadgets, protecting them from the bad guys lurking on the internet.
But why should you care? Well, in today’s hyper-connected world, IoT devices are everywhere—from smart homes to industrial sensors. Managing these devices manually would be like trying to find a needle in a haystack. That’s where SSH remote IoT commands come in, streamlining your workflow and giving you full control without breaking a sweat. So, buckle up because we’re about to take a deep dive into this exciting realm!
Read also:Ullu Videos The Ultimate Platform For Bingewatching Indian Web Series
What Are SSH Remote IoT Commands?
Let’s start with the basics. SSH remote IoT commands are specific instructions you send to IoT devices through the Secure Shell protocol. These commands allow you to interact with devices, configure settings, transfer files, and monitor performance—all from the comfort of your laptop or even your smartphone. It’s like having a remote control for your entire IoT setup.
Here’s why SSH is so popular:
- It provides encryption for secure communication.
- It supports authentication to ensure only authorized users can access devices.
- It’s widely supported across different platforms and operating systems.
For IoT devices, which often operate in unsecured environments, SSH is a game-changer. It ensures your data stays safe while giving you the flexibility to manage devices remotely.
Why Use SSH for IoT Devices?
When it comes to IoT, security is not optional—it’s a must. And that’s where SSH shines. Unlike other protocols, SSH offers end-to-end encryption, making it nearly impossible for hackers to intercept your data. Plus, it’s super easy to set up and use, even for beginners.
Here are some key benefits of using SSH for IoT devices:
- Security: Protect your devices and data from unauthorized access.
- Efficiency: Automate tasks and manage multiple devices simultaneously.
- Flexibility: Access your devices from anywhere with an internet connection.
And let’s not forget the peace of mind that comes with knowing your IoT setup is secure. In a world where cyber threats are on the rise, SSH is your best bet for keeping everything under control.
Read also:Why Isnt Howard Stern Live Today Unpacking The Mystery Behind The King Of All Media
Setting Up SSH for IoT Devices
Alright, let’s get our hands dirty and set up SSH for your IoT devices. Don’t worry—it’s easier than it sounds. Here’s a step-by-step guide to get you started:
Step 1: Enable SSH on Your IoT Device
Most IoT devices have SSH disabled by default for security reasons. To enable it, follow these steps:
- Log in to your device’s web interface or terminal.
- Look for the SSH settings and enable the service.
- Make sure to set a strong password or use SSH keys for authentication.
Pro tip: Always use SSH keys instead of passwords for added security. It’s like having a secret handshake with your device.
Step 2: Install an SSH Client
Next, you’ll need an SSH client on your computer or mobile device. There are plenty of options out there, but here are a few popular ones:
- PuTTY: A classic choice for Windows users.
- OpenSSH: Built into most Linux and macOS systems.
- Termius: A great option for mobile devices.
Once you’ve installed your client, you’re ready to connect to your IoT device.
Step 3: Connect to Your IoT Device
Connecting to your IoT device is as simple as typing a command in your SSH client. Here’s the basic syntax:
ssh username@device_ip_address
Replace "username" with your device’s username and "device_ip_address" with the actual IP address of your device. If everything is set up correctly, you should see a prompt asking for your password or SSH key.
Common SSH Remote IoT Commands
Now that you’re connected, it’s time to explore some common SSH remote IoT commands. These commands will help you manage your devices efficiently and troubleshoot any issues that may arise.
1. System Information
Need to check your device’s system info? Use these commands:
uname -a: Displays the operating system details.cat /proc/cpuinfo: Shows CPU information.free -h: Displays memory usage in a human-readable format.
2. File Management
Managing files on your IoT device is a breeze with SSH. Here are some essential commands:
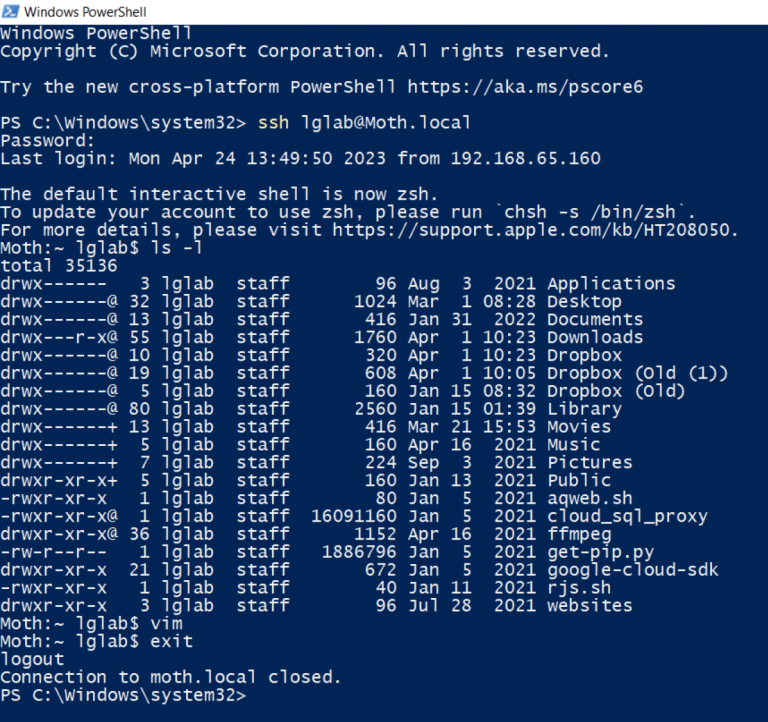
ls: Lists files and directories.cd: Changes the current directory.cp: Copies files or directories.mv: Moves or renames files.
3. Network Configuration
Configuring your device’s network settings is crucial for IoT applications. Try these commands:
ifconfig: Displays network interface details.ping: Tests connectivity to a remote host.netstat: Shows active network connections.
Advanced SSH Techniques for IoT
Once you’ve mastered the basics, it’s time to level up your SSH skills. Here are some advanced techniques to make your IoT setup even more powerful:
1. SSH Tunneling
SSH tunneling allows you to securely access services on your IoT device that aren’t exposed to the internet. For example, you can use it to access a database or web server running on your device.
To create an SSH tunnel, use the following command:
ssh -L local_port:destination_host:destination_port username@device_ip_address
This command forwards traffic from your local machine’s port to the destination port on your IoT device.
2. SSH Key-Based Authentication
As mentioned earlier, using SSH keys instead of passwords is a best practice for security. Here’s how to set it up:
- Generate an SSH key pair using the
ssh-keygencommand. - Copy the public key to your IoT device using the
ssh-copy-idcommand. - Disable password authentication on your device for added security.
3. Automated Scripts
Automating repetitive tasks can save you a ton of time. Use SSH to run scripts on your IoT devices automatically. For example, you can set up a cron job to backup your device’s configuration files daily.
Troubleshooting SSH Issues
Even the best-laid plans can go awry sometimes. If you’re having trouble with SSH, here are some common issues and how to fix them:
1. Connection Refused
If you’re getting a "Connection refused" error, double-check the following:
- Make sure SSH is enabled on your IoT device.
- Verify that the IP address and port number are correct.
- Check if there are any firewall rules blocking the connection.
2. Authentication Failed
Getting an "Authentication failed" error? Try these solutions:
- Ensure you’re using the correct username and password.
- Check if your SSH key is properly configured.
- Restart the SSH service on your device.
3. Slow Connection
A slow SSH connection can be frustrating. Here’s how to speed things up:
- Use compression by adding the
-Cflag to your SSH command. - Optimize your network settings for better performance.
- Consider upgrading your device’s hardware if it’s outdated.
Best Practices for SSH in IoT
Finally, let’s talk about some best practices to keep your SSH setup secure and efficient:
- Use Strong Passwords: Avoid using common or easily guessable passwords.
- Enable Two-Factor Authentication: Add an extra layer of security to your SSH connections.
- Regularly Update Your Devices: Keep your IoT devices and SSH software up to date with the latest security patches.
- Monitor Logs: Keep an eye on your device’s logs for any suspicious activity.
By following these best practices, you’ll ensure your IoT setup remains secure and reliable.
Conclusion
Well, there you have it—everything you need to know about SSH remote IoT commands. From setting up SSH to troubleshooting common issues, we’ve covered it all. Remember, SSH is not just a tool—it’s a powerful ally in your IoT journey, helping you manage and secure your devices with ease.
So, what are you waiting for? Dive in and start exploring the world of SSH remote IoT commands. And don’t forget to leave a comment or share this article if you found it helpful. Happy hacking!
Table of Contents