So, you're here because you're wondering how do I SSH into an IoT device on Windows 10? Well, buckle up, my friend, because we're diving deep into the world of IoT and SSH. Imagine this: your IoT devices are like little islands floating in the vast ocean of technology, and SSH is the boat that lets you hop on and control them remotely. Cool, right? But before we get all adventurous, let’s break it down step by step so you don’t end up lost at sea.
SSH, or Secure Shell, is more than just a buzzword in the tech world. It’s your golden ticket to securely connecting with your IoT devices from your Windows 10 machine. Whether you’re managing smart home gadgets or tinkering with industrial sensors, SSH gives you that much-needed remote access without compromising security. And trust me, in today’s hacker-filled world, security is king.
Now, if you're thinking, "Wait, why should I care about SSH?"—let me tell you, it’s not just for tech geeks anymore. Even if you're a beginner, understanding how to SSH into an IoT device on Windows 10 can open doors to a whole new level of control over your smart devices. So, let’s dive in and make sure you’re ready to conquer this tech challenge!
Read also:Cincy Jacks The Rising Star In The Sports World You Need To Know
Table of Contents
- What is SSH and Why Does It Matter?
- A Quick Overview of IoT Devices
- Prerequisites for SSH on Windows 10
- How to Enable SSH on Windows 10
- Connecting to Your IoT Device via SSH
- Troubleshooting Common SSH Issues
- Security Tips for SSH Connections
- Advanced SSH Configurations
- Recommended Tools for SSH Management
- Wrapping It All Up
What is SSH and Why Does It Matter?
Alright, let’s start with the basics. SSH, short for Secure Shell, is a protocol that lets you connect to remote devices securely. Think of it as a secret tunnel that lets you send commands and data back and forth without anyone peeking in. And when we’re talking about IoT devices, SSH becomes super important because these gadgets are often scattered around your home or workplace, and you need a way to manage them without being physically present.
Here’s the kicker: SSH isn’t just about connectivity. It’s also about security. Unlike other methods, SSH encrypts everything you send, making it nearly impossible for hackers to intercept your data. So, whether you’re tweaking settings on your smart thermostat or debugging a sensor, SSH keeps your activities safe and sound.
Why Should You Care About SSH?
Let’s break it down into bite-sized reasons:
- SSH ensures secure communication between your Windows 10 machine and IoT devices.
- It allows you to remotely manage and monitor your gadgets without needing physical access.
- SSH is widely supported across platforms, making it a universal solution for remote connections.
- With SSH, you can automate tasks and streamline your workflow, saving you time and effort.
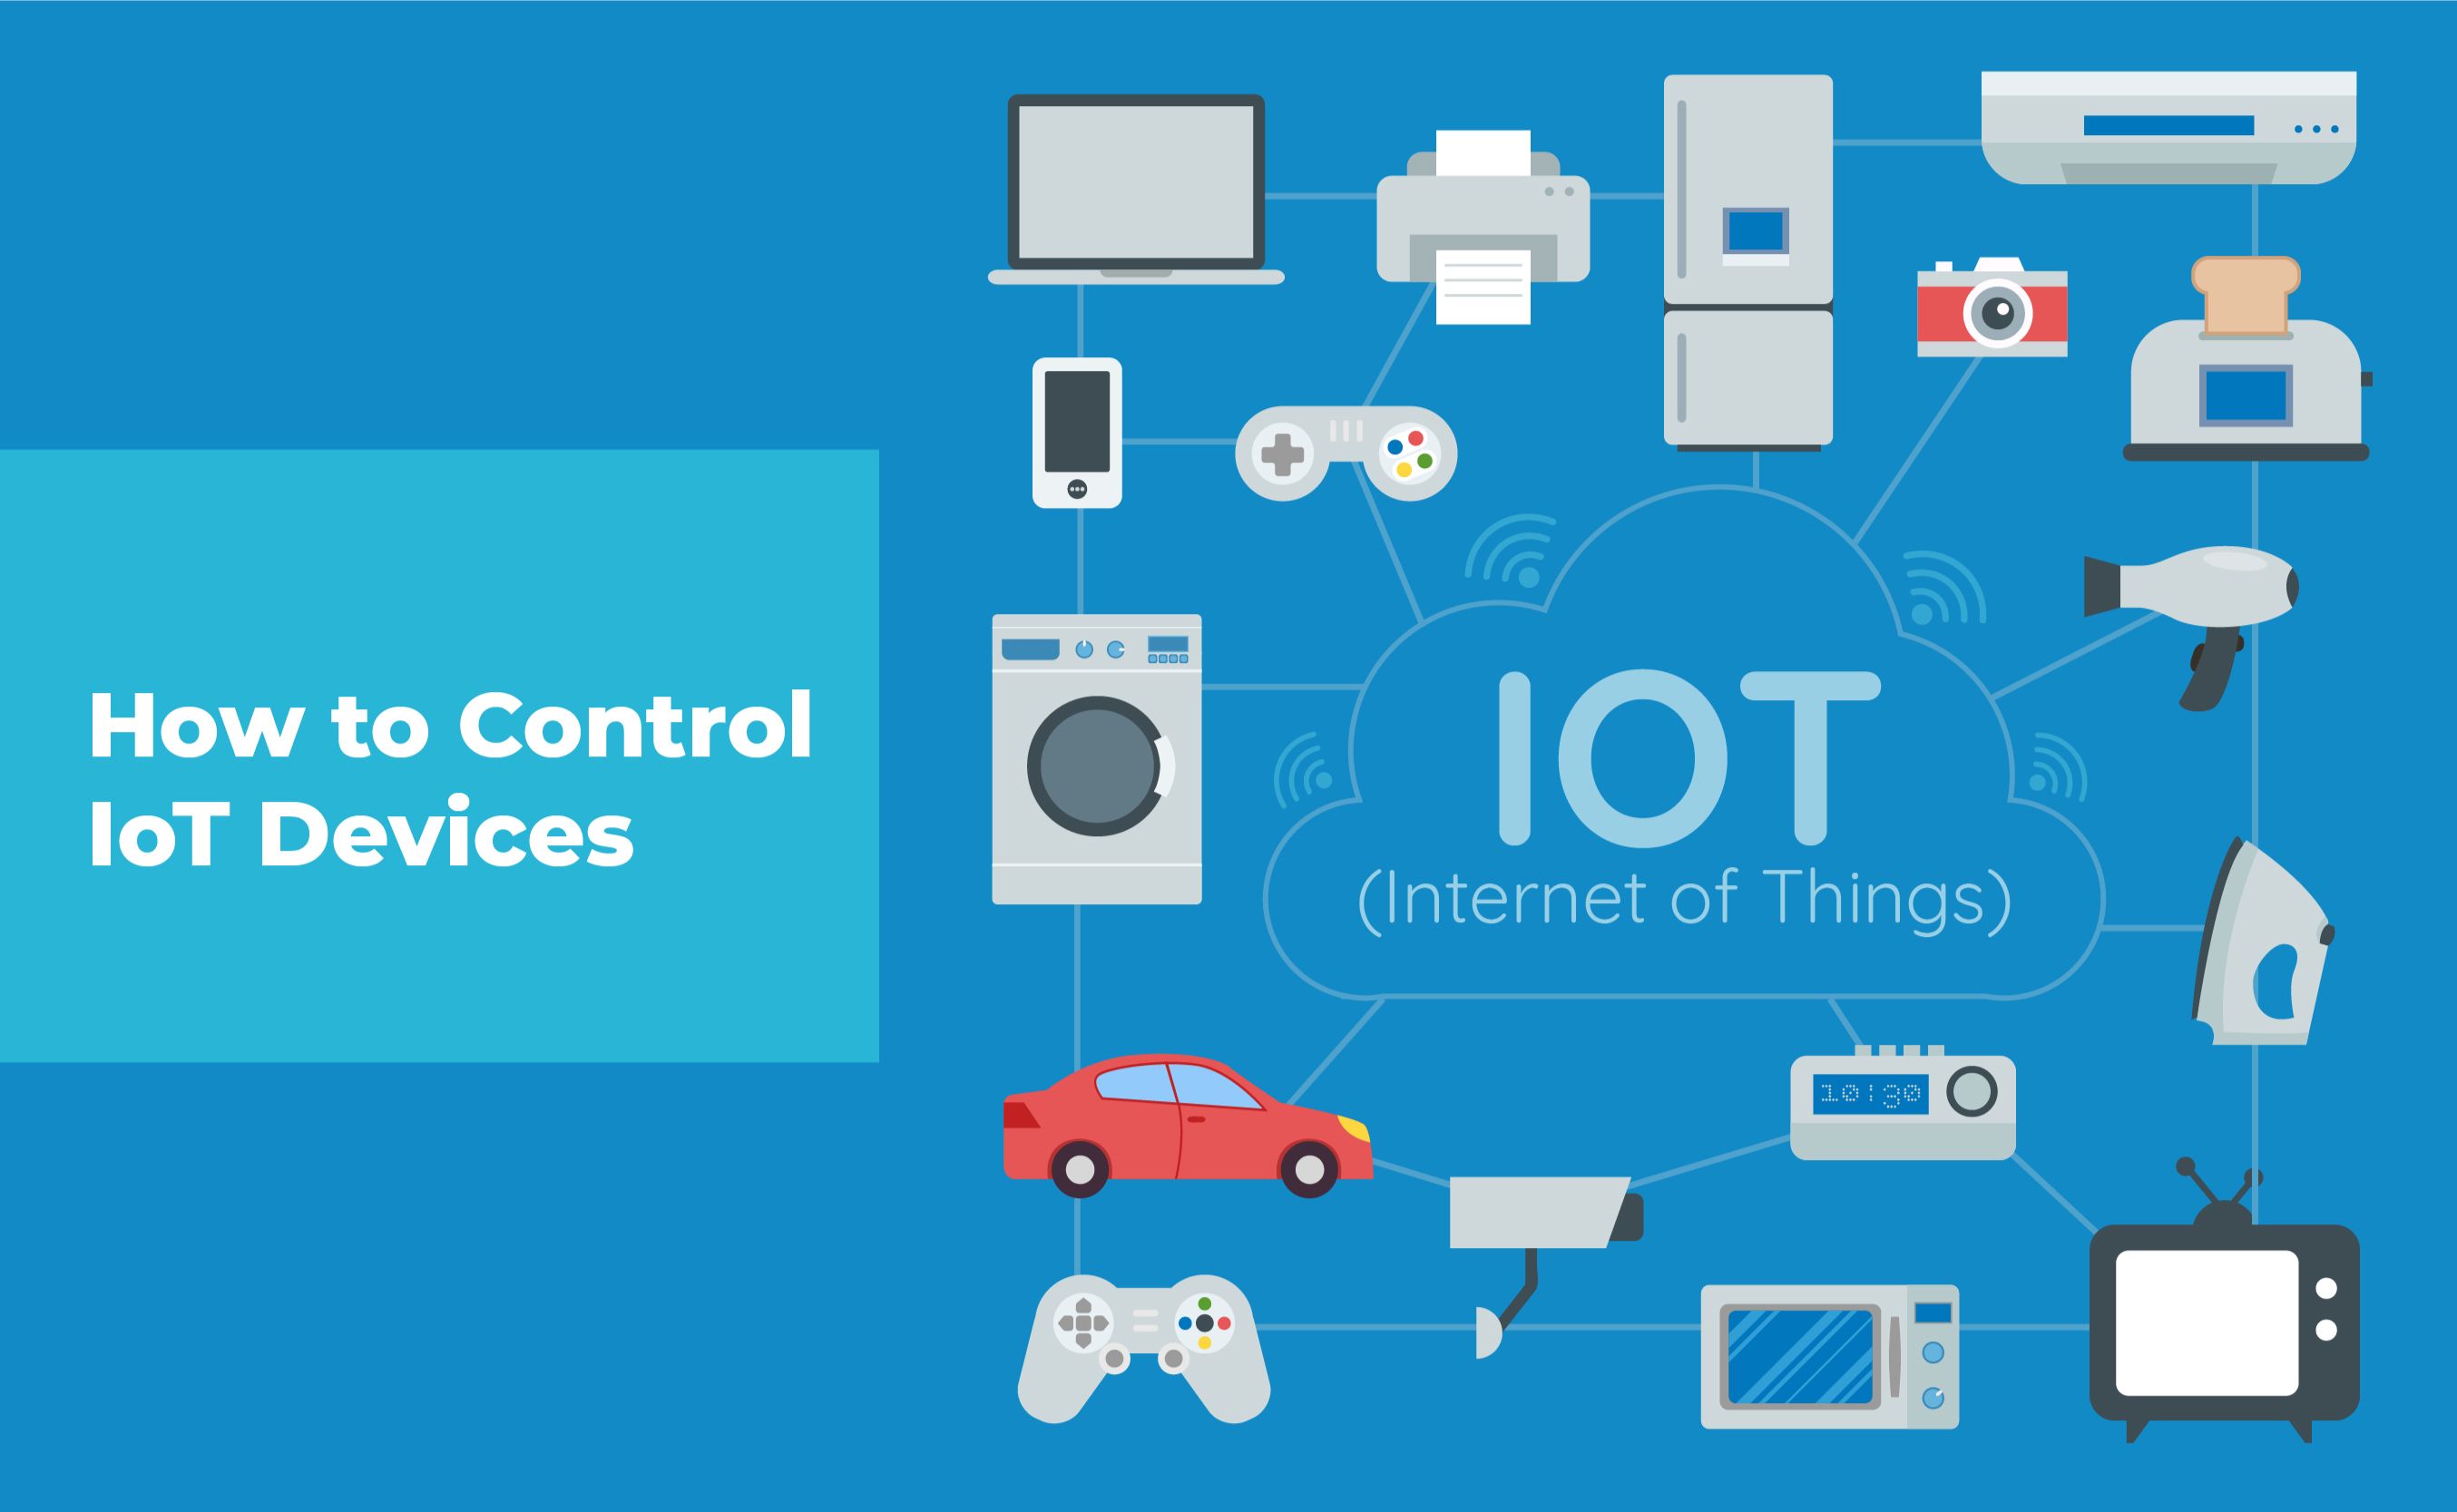
A Quick Overview of IoT Devices
Now that we’ve got SSH covered, let’s talk about IoT devices. IoT, or the Internet of Things, is basically the network of physical objects embedded with sensors, software, and connectivity. Think smart bulbs, security cameras, thermostats, and even industrial machinery. These devices collect and exchange data, creating a smarter, more connected world.
But here’s the thing: managing all these devices can be a challenge, especially if you have a bunch of them scattered around. That’s where SSH comes in. By using SSH, you can remotely access and control your IoT devices from your Windows 10 computer, no matter where they are.
Prerequisites for SSH on Windows 10
Before we dive into the nitty-gritty of SSH, let’s make sure you’ve got everything you need. Here’s a quick checklist:
Read also:Jim Parsons The Remarkable Journey Of A Beloved Actor
- A Windows 10 machine with the latest updates installed.
- An IoT device that supports SSH (most modern devices do).
- The IP address or hostname of your IoT device.
- A user account with SSH access on your IoT device.
- Basic knowledge of command-line interfaces (don’t worry, we’ll guide you through it).
If you’ve got all this covered, you’re good to go. If not, don’t sweat it—we’ll walk you through setting everything up.
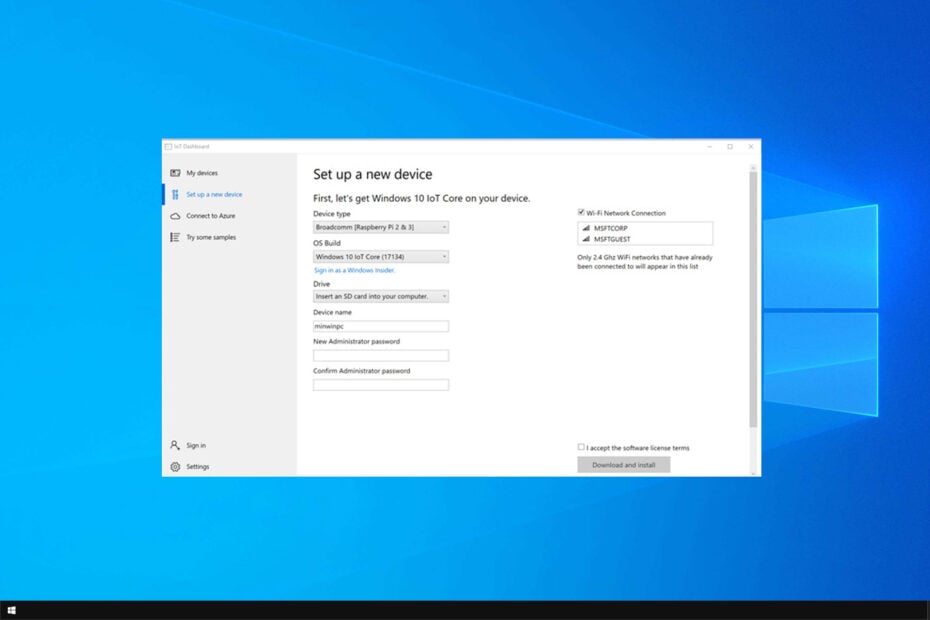
How to Enable SSH on Windows 10
Now, let’s get down to business. The first step in SSH-ing into an IoT device is enabling the SSH client on your Windows 10 machine. Here’s how you do it:
- Open the Start menu and go to Settings.
- Click on Apps, then scroll down to Optional features.
- Click on Add a feature and search for OpenSSH Client.
- Select it and click Install.
Voilà! You’ve now enabled SSH on your Windows 10 machine. Easy peasy, right?
Why Enable SSH on Windows 10?
Enabling SSH on Windows 10 gives you the power to connect to any device that supports SSH, including your IoT gadgets. Without this step, you won’t be able to SSH into anything, so it’s a crucial part of the process.
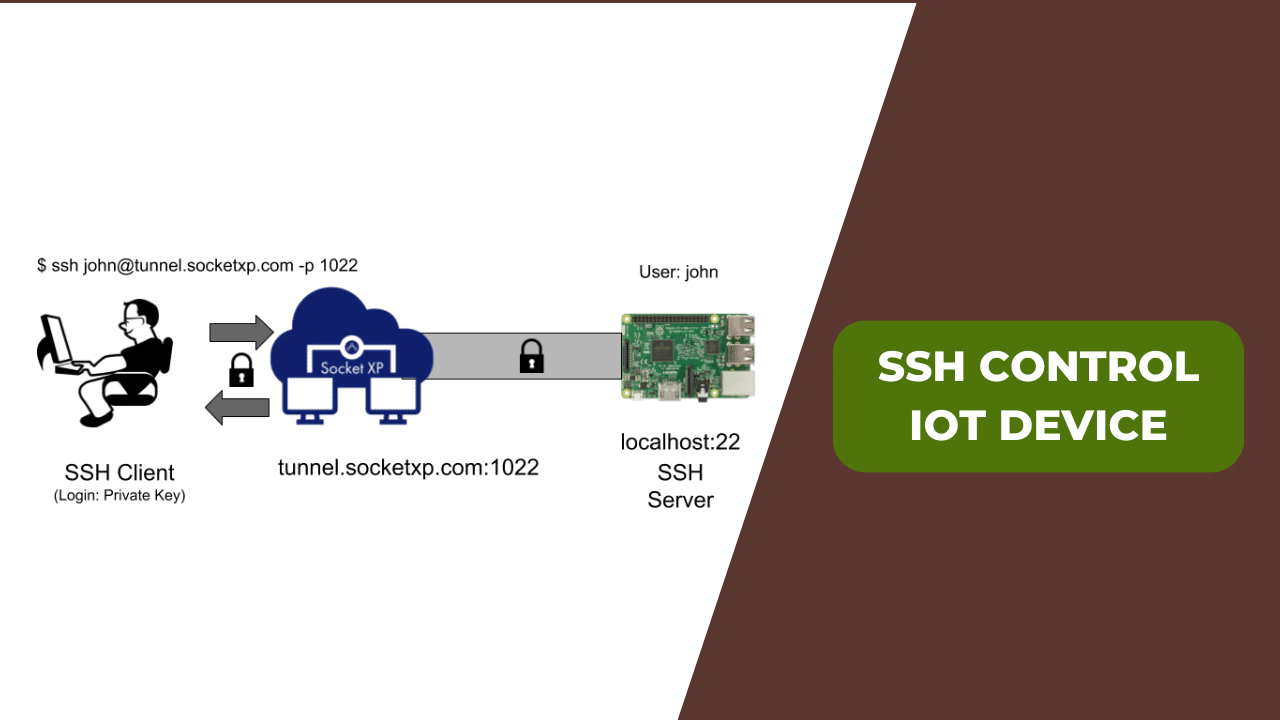
Connecting to Your IoT Device via SSH
With SSH enabled on your Windows 10 machine, it’s time to connect to your IoT device. Here’s how you do it:
- Open the Command Prompt or PowerShell on your Windows 10 machine.
- Type the following command, replacing username and ip_address with your actual credentials:
ssh username@ip_address - Hit Enter and, if prompted, type yes to confirm the connection.
- Enter your password when prompted, and you’re in!
And just like that, you’re connected to your IoT device via SSH. Pretty cool, huh?
Tips for a Smooth Connection
Here are a few tips to ensure a seamless SSH connection:
- Make sure your IoT device is on the same network as your Windows 10 machine.
- Double-check the IP address and username to avoid connection errors.
- If you’re using a password, keep it strong and secure to prevent unauthorized access.
Troubleshooting Common SSH Issues
Even the best-laid plans can go awry, and SSH is no exception. Here are some common issues you might encounter and how to fix them:
- Connection Refused: This usually happens when the SSH service isn’t running on your IoT device. Check the device’s settings and make sure SSH is enabled.
- Authentication Failed: Double-check your username and password. If you’re still having trouble, try resetting the credentials on your IoT device.
- Timeout Errors: If your connection keeps timing out, it could be due to network issues. Ensure both your Windows 10 machine and IoT device are connected to a stable network.
Still stuck? Don’t worry. There are plenty of resources online, including forums and support communities, where you can find help from other SSH enthusiasts.
Security Tips for SSH Connections
Security is always a top priority when it comes to SSH. Here are some tips to keep your connections safe:
- Use strong, unique passwords for your IoT devices.
- Enable two-factor authentication (2FA) if your device supports it.
- Disable password authentication and use SSH keys instead for an added layer of security.
- Regularly update your IoT devices’ firmware to patch any security vulnerabilities.
Remember, security isn’t just about protecting your data—it’s about protecting your peace of mind.
Advanced SSH Configurations
Once you’ve mastered the basics, it’s time to take your SSH skills to the next level. Here are a few advanced configurations you can try:
- SSH Tunneling: Create secure tunnels for transferring sensitive data between your Windows 10 machine and IoT devices.
- SSH Key Authentication: Set up SSH keys to eliminate the need for passwords and enhance security.
- Port Forwarding: Use SSH to forward ports and access services on your IoT devices securely.
These advanced configurations can help you unlock the full potential of SSH and take your IoT management to new heights.
Recommended Tools for SSH Management
While the built-in SSH client on Windows 10 is great, there are other tools you can use to enhance your SSH experience:
- PuTTY: A popular SSH client for Windows that offers a user-friendly interface.
- WinSCP: A powerful SFTP client that lets you transfer files securely over SSH.
- MobaXterm: An all-in-one terminal emulator and SSH client that supports multiple sessions.
These tools can make managing your IoT devices via SSH a breeze, so give them a try and see which one works best for you.
Wrapping It All Up
So there you have it, folks—a comprehensive guide on how to SSH into an IoT device on Windows 10. From understanding the basics of SSH to troubleshooting common issues and exploring advanced configurations, we’ve covered it all. By now, you should feel confident enough to start managing your IoT devices remotely and securely.
But remember, this is just the beginning. The world of IoT and SSH is vast and ever-evolving, so keep learning, experimenting, and pushing the boundaries of what you can achieve. And don’t forget to share your newfound knowledge with others—after all, sharing is caring!
Now, here’s your call to action: leave a comment below telling us about your experience with SSH and IoT. What challenges did you face? What tips do you have for others? And while you’re at it, why not check out some of our other articles on tech and innovation? There’s always more to learn, and we’re here to help you every step of the way!