Hey there, tech enthusiasts! Are you looking to dive into the world of remote IoT monitoring and secure connections? If you're here, chances are you're curious about how to set up SSH on your Mac for seamless remote access. Well, buckle up because we're about to take you on a journey through the ins and outs of remote IoT monitoring, SSH download, and everything else you need to know to get started.
Nowadays, the ability to remotely monitor and manage IoT devices is more crucial than ever. Whether you're a tech professional or just someone who loves tinkering with gadgets, understanding how to use SSH on your Mac can open up a world of possibilities. From automating home systems to managing industrial equipment, SSH is your go-to tool for secure communication.
But here's the thing—setting up SSH on your Mac isn't always straightforward. There are a bunch of steps, tools, and best practices you need to follow to ensure everything runs smoothly. That's where we come in. In this article, we'll break down everything you need to know about remote IoT monitoring, SSH download, and how to get it all working on your Mac. Let's get started!
Read also:Cincy Jacks The Rising Star In The Sports World You Need To Know
What is RemoteIoT Monitoring and Why Does it Matter?
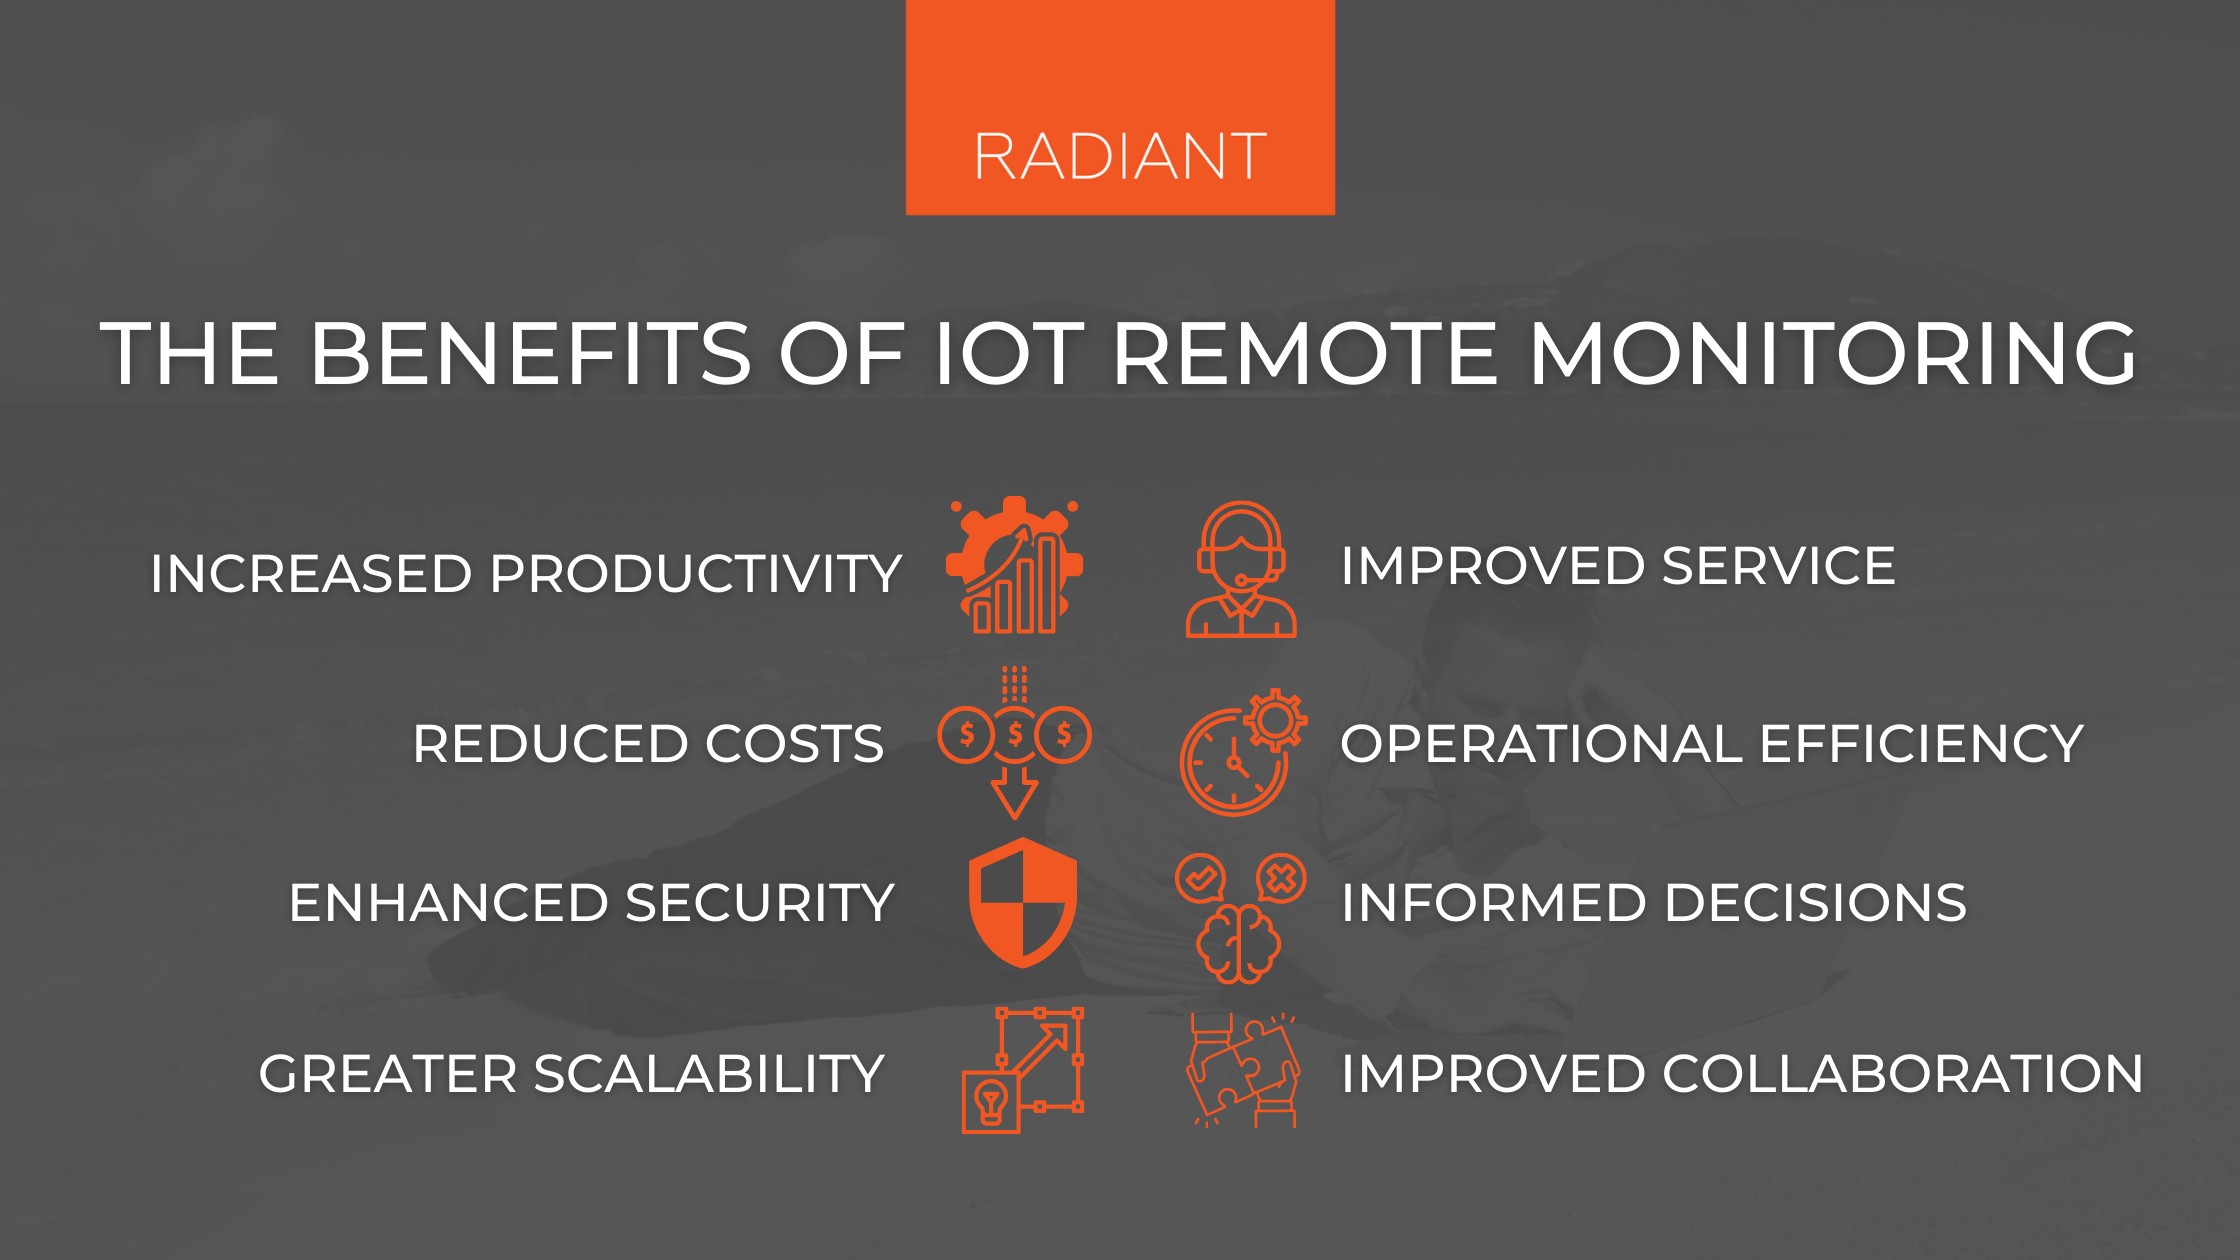
RemoteIoT monitoring is basically the process of keeping an eye on your Internet of Things (IoT) devices from afar. Think of it like having a superpower that lets you check in on your smart home system, industrial sensors, or even weather stations without leaving your couch. This kind of monitoring is essential for maintaining security, efficiency, and reliability in your IoT setup.
Key Benefits of RemoteIoT Monitoring
- Increased Security: By monitoring your IoT devices remotely, you can quickly detect and respond to potential security threats.
- Cost Efficiency: You don't need to send technicians out to physical locations, saving both time and money.
- Real-Time Data: Access up-to-the-minute information about your devices' performance and status.
- Scalability: As your IoT network grows, remote monitoring makes it easier to manage everything from one central location.
And guess what? RemoteIoT monitoring isn't just for big corporations anymore. With tools like SSH, even small businesses and individuals can take advantage of this technology. It's all about making your life easier while keeping your systems safe.
Understanding SSH: The Backbone of Secure Connections
SSH, or Secure Shell, is a protocol that allows you to securely connect to remote devices over an unsecured network. It's like having a private tunnel that keeps your data safe from prying eyes. SSH is especially important when it comes to remote IoT monitoring because it ensures that your communications remain encrypted and protected.
Why Use SSH for RemoteIoT Monitoring?
There are plenty of reasons why SSH is the go-to choice for secure remote connections. Here are a few:
- Encryption: SSH encrypts all data transferred between your Mac and the remote device, keeping sensitive information safe.
- Authentication: With SSH, you can set up strong authentication methods, such as public key authentication, to ensure only authorized users can access your devices.
- Command Execution: SSH allows you to run commands on remote devices as if you were physically there, making it a powerful tool for managing IoT setups.
Now that you know what SSH is and why it's so important, let's dive into how you can set it up on your Mac.
How to Download and Install SSH on Mac
Good news, Mac users—SSH is already built into macOS! That's right, you don't need to download anything extra. All you need to do is fire up the Terminal app and start using SSH. Here's a quick step-by-step guide to get you started:
Read also:Diana Hyland The Timeless Beauty And Her Enduring Legacy
Step 1: Open Terminal
To access Terminal, simply open the "Applications" folder, go to "Utilities," and click on "Terminal." It's like opening a secret door to your Mac's inner workings.
Step 2: Connect to a Remote Device
Once you're in Terminal, type the following command to connect to your remote device:
ssh username@remote_device_ip
Replace "username" with your actual username and "remote_device_ip" with the IP address of the device you're trying to connect to. Hit Enter, and you're good to go!
Troubleshooting Common SSH Issues
Let's face it—things don't always go smoothly when setting up SSH. Here are a few common issues you might encounter and how to fix them:
- Connection Refused: Make sure the remote device's SSH service is running and that there are no firewall rules blocking the connection.
- Authentication Failed: Double-check your username and password. If you're using public key authentication, ensure your public key is correctly installed on the remote device.
- Timeout Errors: Check your internet connection and make sure the remote device is reachable from your network.
With these tips, you should be able to troubleshoot most SSH issues and get back to monitoring your IoT devices in no time.
Setting Up RemoteIoT Monitoring with SSH
Now that you've got SSH up and running on your Mac, it's time to put it to work for your IoT monitoring needs. Here's how you can set up a basic remote IoT monitoring system using SSH:
Step 1: Choose Your IoT Devices
First things first—you need to decide which IoT devices you want to monitor. This could be anything from smart home gadgets to industrial sensors. Just make sure each device is capable of running an SSH server.
Step 2: Configure SSH on Your Devices
Next, you'll need to set up SSH on each of your IoT devices. This process will vary depending on the device, so be sure to consult the manufacturer's documentation for specific instructions.
Step 3: Automate Your Monitoring
Once everything is configured, you can start automating your monitoring processes. Use scripts or third-party tools to collect data from your devices and send alerts if anything goes wrong.
By following these steps, you'll have a fully functional remote IoT monitoring system in no time. And with SSH keeping everything secure, you can rest easy knowing your data is protected.
Best Practices for Secure RemoteIoT Monitoring
While SSH is a powerful tool, it's not foolproof. To ensure your remote IoT monitoring setup remains secure, follow these best practices:
Use Strong Passwords
Never underestimate the importance of a strong password. Use a combination of letters, numbers, and symbols, and avoid using easily guessable information like birthdays or pet names.
Enable Public Key Authentication
Public key authentication is a more secure alternative to password-based authentication. It works by generating a pair of keys—one public and one private—that are used to verify your identity when connecting to a remote device.
Keep Your Software Updated
Regularly updating your SSH client and server software ensures that you have the latest security patches and features. Don't neglect this crucial step!
By following these best practices, you'll significantly reduce the risk of unauthorized access and keep your remote IoT monitoring system running smoothly.
Tools and Resources for RemoteIoT Monitoring
There are plenty of tools and resources available to help you with remote IoT monitoring. Here are a few you might find useful:
Popular SSH Clients
- PuTTY: A free and open-source SSH client for Windows users.
- Termius: A cross-platform SSH client with a user-friendly interface.
- MobaXterm: A powerful SSH client that also includes a terminal emulator and file transfer tools.
IoT Monitoring Platforms
- ThingsBoard: An open-source IoT platform that allows you to visualize and manage your IoT data.
- Freeboard: A web-based dashboard for visualizing IoT data from various sources.
- Losant: A cloud-based IoT platform that offers tools for building and deploying IoT solutions.
These tools can help streamline your remote IoT monitoring efforts and make your life a whole lot easier.
Future Trends in RemoteIoT Monitoring
The world of remote IoT monitoring is constantly evolving, with new technologies and trends emerging all the time. Here are a few trends to keep an eye on:
Edge Computing
Edge computing involves processing data closer to the source, reducing latency and improving overall performance. As IoT devices become more powerful, edge computing will play an increasingly important role in remote monitoring.
AI and Machine Learning
Artificial intelligence and machine learning are revolutionizing the way we analyze and interpret IoT data. These technologies can help identify patterns, predict failures, and optimize performance in real time.
5G Networks
With the rollout of 5G networks, we can expect faster and more reliable connections for IoT devices. This will enable more sophisticated remote monitoring applications and open up new possibilities for innovation.
By staying ahead of these trends, you'll be well-positioned to take full advantage of the latest advancements in remote IoT monitoring.
Conclusion
Well, there you have it—a comprehensive guide to remote IoT monitoring using SSH on your Mac. From setting up SSH to configuring your IoT devices and automating your monitoring processes, we've covered everything you need to know to get started.
Remember, security is key when it comes to remote IoT monitoring. By following best practices and using the right tools, you can ensure that your data remains safe and your systems run smoothly. So what are you waiting for? Get out there and start monitoring your IoT devices like a pro!
Before you go, don't forget to leave a comment or share this article with your friends. And if you're interested in learning more about remote IoT monitoring or other tech topics, be sure to check out our other articles. Happy monitoring!
Table of Contents
- What is RemoteIoT Monitoring and Why Does it Matter?
- Understanding SSH: The Backbone of Secure Connections
- How to Download and Install SSH on Mac
- Setting Up RemoteIoT Monitoring with SSH
- Best Practices for Secure RemoteIoT Monitoring
- Tools and Resources for RemoteIoT Monitoring
- Future Trends in RemoteIoT Monitoring
- Conclusion
And there you have it—a complete guide to remote IoT monitoring with SSH on your Mac. Happy tinkering, and may your connections always be secure!