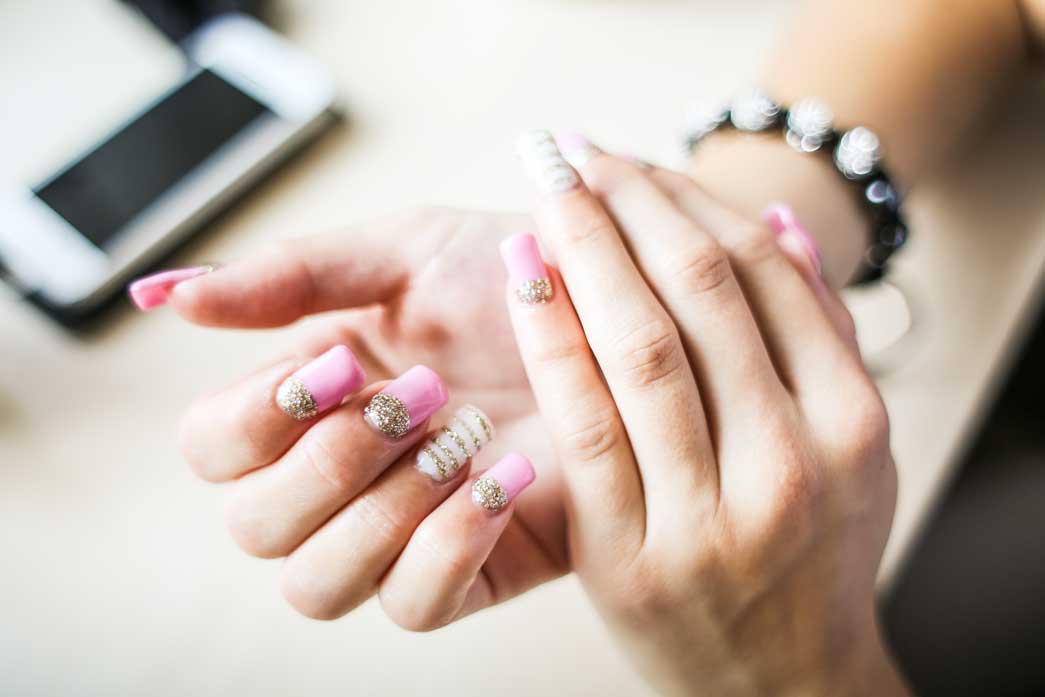
Let’s face it, folks, SNS nails are a game-changer. They’re super durable, stylish, and give you that salon-quality look without the hefty price tag. But, what happens when it’s time to take them off? Removing SNS nails can feel like a daunting task, especially if you're trying to do it at home. Don’t panic! We’ve got you covered with the ultimate guide on how to remove SNS nails safely and effectively from the comfort of your own space.
Now, you might be wondering, “Why can’t I just rip them off or soak them in acetone for hours?” Well, my friend, that’s a rookie mistake. Removing SNS nails requires a bit of finesse and the right tools to avoid damaging your natural nails. This guide will walk you through step-by-step methods that are gentle yet effective, so you can say goodbye to your SNS nails without any drama.
Whether you’re a DIY enthusiast or just looking to save some cash, this article will provide you with all the tips, tricks, and tools you need to remove SNS nails safely. Let’s dive in and get those nails back to their natural glory!
Read also:Best Remoteiot Raspberry Pi Your Ultimate Guide To Setting Up And Managing Iot Devices
Why Removing SNS Nails Safely Matters
First things first, why is it so important to remove SNS nails properly? Well, SNS nails are essentially a gel-powder hybrid that bonds strongly to your natural nails. If you try to remove them without the right technique, you risk damaging your nail bed, causing peeling, or even worse, lifting your natural nail from the nail bed. Yikes!
Removing SNS nails safely ensures that your natural nails remain intact, healthy, and ready for your next nail art adventure. Plus, using the right methods prevents unnecessary pain and discomfort. Let’s not forget that your nails are an extension of you, and treating them with care is key to maintaining their health and beauty.
Common Mistakes to Avoid
Before we jump into the how-to, let’s talk about some common mistakes people make when removing SNS nails at home:
- Ripping off the nails without softening the bond first.
- Soaking nails in acetone for too long, which can dry out your cuticles and skin.
- Using sharp tools like scissors or knives to pry off the nails, which can lead to injury.
- Skipping moisturizer or cuticle care after removal, leaving your hands feeling dry and cracked.
Avoid these pitfalls, and you’ll be well on your way to a smooth removal process. Trust me, your nails will thank you later.
Gather Your Tools and Supplies
Now that we’ve covered the importance of safe removal, let’s talk about what you’ll need to get the job done. Having the right tools and supplies on hand will make the process much easier and more efficient. Here’s a list of essentials:
- Foam Nail Wraps or Foil Sheets: These are used to wrap your fingers during the soaking process.
- Pure Acetone Nail Polish Remover: This is the magic ingredient that breaks down the SNS bond.
- Cotton Balls or Pads: These will soak up the acetone and apply it to your nails.
- Orange Wood Sticks or Cuticle Sticks: These are gentle yet effective for scraping off the softened gel.
- Cuticle Oil or Moisturizer: To keep your hands hydrated after removal.
Pro tip: Make sure your acetone is pure and doesn’t contain any added moisturizers or oils, as these can reduce its effectiveness.
Read also:Unlocking The Power Of Remoteiot Monitoring Android For A Smarter Future
Where to Buy These Supplies
You can find all these supplies at your local beauty supply store or online retailers like Amazon or eBay. Look for products specifically designed for nail removal to ensure quality and effectiveness. And hey, if you’re feeling extra fancy, consider investing in a professional nail kit for future at-home manicures.
Step-by-Step Guide to Remove SNS Nails Safely
Alright, let’s get down to business. Here’s a step-by-step guide on how to remove SNS nails safely at home:
Step 1: Prep Your Workspace
First, find a comfortable and well-lit area to work in. Lay out all your supplies within reach, and make sure your hands are clean and dry. This will help the acetone work more effectively and prevent any contamination.
Step 2: Apply Acetone
Soak a cotton ball or pad in pure acetone and place it on each nail. Then, wrap each finger with a foam nail wrap or foil sheet. This will create a seal that keeps the acetone in contact with your nails for the necessary amount of time.
Step 3: Wait It Out
Now comes the hard part—waiting. Leave the wraps on for about 15-20 minutes. During this time, the acetone will start breaking down the SNS gel. Resist the urge to peek or move the wraps around, as this can disrupt the process.
Step 4: Scrape Off the Gel
After the waiting period, gently remove the wraps and cotton balls. Use an orange wood stick or cuticle stick to scrape off the softened gel. Start from the edge of the nail and work your way across. If some areas are still stubborn, reapply acetone and wait a few more minutes before trying again.
Step 5: Clean and Moisturize
Once all the gel is removed, wash your hands thoroughly with soap and water to get rid of any leftover acetone. Then, apply a generous amount of cuticle oil or moisturizer to keep your hands soft and hydrated.
Tips and Tricks for a Smooth Removal
Here are a few additional tips to make your SNS nail removal experience as seamless as possible:
- Work on one hand at a time to maintain control and precision.
- Take breaks between fingers if you start to feel discomfort or irritation.
- Use gloves when handling acetone to protect your skin from prolonged exposure.
- Consider applying a base coat before your next SNS application to make future removals easier.
Remember, patience is key. Rushing the process can lead to mistakes and potential damage to your nails.
Common Questions About SNS Nail Removal
Let’s address some frequently asked questions about removing SNS nails at home:
Can I Remove SNS Nails Without Acetone?
Technically, yes, but it’s much more challenging. Acetone is the most effective solvent for breaking down the SNS gel. If you’re concerned about using acetone, consider consulting a professional nail technician for removal.
How Often Should I Remove My SNS Nails?
It’s generally recommended to remove and reapply SNS nails every 2-3 weeks to allow your natural nails to breathe and recover. Overusing extensions without proper breaks can lead to weakened nail beds.
Will Removing SNS Nails Damage My Natural Nails?
Not if you do it correctly! Following the steps outlined in this guide will ensure minimal impact on your natural nails. Always prioritize their health and well-being.
Alternatives to DIY Removal
If you’re not confident in your DIY skills or don’t have the time to dedicate to the process, there are other options available:
- Visit a Professional: Nail salons offer removal services that are quick, efficient, and safe.
- Try a Nail Removal Kit: Some kits come with all the tools and instructions you need for a hassle-free experience.
- Consult an Expert: If you’re unsure about any step, reach out to a nail technician for advice or assistance.
Remember, it’s always better to seek professional help than to risk damaging your nails.
Expert Advice on Maintaining Nail Health
To ensure your nails stay healthy and strong, consider these expert tips:
- Regularly moisturize your cuticles and hands to prevent dryness and cracking.
- Use a nail strengthener to fortify your natural nails between applications.
- Avoid biting or picking at your nails, as this can cause damage and infection.
Your nails are a reflection of your overall health, so treating them with care is essential for maintaining their beauty and functionality.
Conclusion: Take Action and Keep Your Nails Happy
Removing SNS nails safely at home doesn’t have to be a stressful experience. With the right tools, techniques, and a little patience, you can achieve professional results in the comfort of your own home. Remember to prioritize the health of your natural nails and take breaks between applications to allow them to recover.
Now that you’ve got the know-how, it’s time to put it into practice. Share your experiences, tips, and tricks in the comments below. And don’t forget to check out our other articles for more nail care advice and beauty tips. Happy polishing, folks!