Imagine this—you’ve got a Raspberry Pi sitting on your desk, and you’re wondering how to turn it into a powerhouse for managing cloud services. Well, you’ve come to the right place, buddy! In this Raspberry Pi cloud management tutorial, we’ll dive deep into how you can harness the power of your little device to manage cloud infrastructure like a pro. Whether you’re a hobbyist or a tech enthusiast, this guide will equip you with all the tools and knowledge you need to get started.
Cloud computing has become a game-changer in the tech world, and with Raspberry Pi, you can take advantage of its capabilities without breaking the bank. This tutorial is designed to be your go-to resource, walking you through step-by-step instructions so even a complete beginner can set up their own cloud management system.
But wait, there’s more! We’ll also touch on some advanced tips and tricks to help you optimize your setup, ensuring you’re getting the most out of your Raspberry Pi. So, buckle up and let’s get started on this exciting journey!
Read also:Temporary Replacement 2 Your Ultimate Guide To Smart And Effective Solutions
Why Raspberry Pi for Cloud Management?
When it comes to cloud management, people often think of expensive servers and complex setups. But here’s the thing—Raspberry Pi is an affordable yet powerful alternative that can handle cloud tasks just as effectively. Let’s break down why Raspberry Pi is such a great choice:
- Cost-Effective: Raspberry Pi is super affordable, making it an excellent option for hobbyists and small businesses.
- Low Power Consumption: Unlike traditional servers, Raspberry Pi consumes minimal power, which is great for the environment and your wallet.
- Highly Customizable: You can tailor Raspberry Pi to fit your specific needs, whether you’re managing cloud storage, running applications, or automating tasks.
- Community Support: There’s a vibrant community of Raspberry Pi enthusiasts who are always willing to help, so you’re never alone in your journey.
So, if you’re looking for a cost-effective and efficient way to manage cloud services, Raspberry Pi is definitely worth considering.
Setting Up Your Raspberry Pi for Cloud Management
Before we dive into the nitty-gritty of managing cloud services, let’s first set up your Raspberry Pi. This step is crucial because it lays the foundation for everything else you’ll be doing.
What You’ll Need
Here’s a quick list of things you’ll need to get started:
- Raspberry Pi (preferably the latest model)
- MicroSD card (at least 16GB)
- Power supply
- HDMI cable and monitor (optional)
- Keyboard and mouse
Once you’ve gathered all these items, you’re ready to move on to the next step.
Installing the Operating System
The first thing you’ll need to do is install an operating system on your Raspberry Pi. For cloud management, we recommend using Raspberry Pi OS, as it’s lightweight and easy to use. Here’s how you can install it:
Read also:Xncc The Ultimate Guide To Understanding And Maximizing Your Investment Opportunities
- Download Raspberry Pi Imager from the official website.
- Insert your MicroSD card into your computer.
- Launch Raspberry Pi Imager and select the Raspberry Pi OS you want to install.
- Choose your MicroSD card as the destination and click ‘Write’ to start the installation process.
Once the installation is complete, pop the MicroSD card into your Raspberry Pi and power it on. You should now see the Raspberry Pi OS booting up.
Understanding Cloud Management with Raspberry Pi
Now that your Raspberry Pi is up and running, it’s time to understand what cloud management entails. At its core, cloud management involves overseeing and maintaining cloud resources, such as storage, applications, and services. With Raspberry Pi, you can manage these resources efficiently and effectively.
Key Components of Cloud Management
Here are some key components you’ll need to understand:
- Cloud Storage: Use your Raspberry Pi to manage and store data in the cloud.
- Application Deployment: Deploy and manage applications using cloud platforms like AWS or Google Cloud.
- Monitoring and Automation: Set up monitoring tools and automate tasks to streamline your cloud management process.
By mastering these components, you’ll be well on your way to becoming a cloud management guru.
Connecting Raspberry Pi to Cloud Platforms
One of the most exciting aspects of Raspberry Pi cloud management is connecting it to popular cloud platforms. This allows you to leverage the power of cloud services to enhance your setup.
Connecting to AWS
AWS (Amazon Web Services) is one of the leading cloud platforms, and connecting your Raspberry Pi to it is surprisingly easy. Here’s how you can do it:
- Create an AWS account if you haven’t already.
- Install the AWS CLI (Command Line Interface) on your Raspberry Pi.
- Configure your AWS credentials on your Raspberry Pi.
- Start deploying and managing resources using AWS commands.
With AWS, you can take advantage of features like EC2 instances, S3 storage, and Lambda functions, all managed from your Raspberry Pi.
Connecting to Google Cloud
Google Cloud is another popular choice for cloud management, and setting it up with Raspberry Pi is just as straightforward. Follow these steps:
- Sign up for a Google Cloud account.
- Install the Google Cloud SDK on your Raspberry Pi.
- Authenticate your Raspberry Pi with your Google Cloud account.
- Begin managing resources like Compute Engine and Cloud Storage.
Google Cloud offers a wide range of services that can be easily integrated with your Raspberry Pi, making it a powerful tool for cloud management.
Managing Cloud Storage with Raspberry Pi
Cloud storage is one of the most common uses for cloud management, and Raspberry Pi can handle it like a champ. Whether you’re storing personal files or managing large datasets, your Raspberry Pi can be configured to manage cloud storage effortlessly.
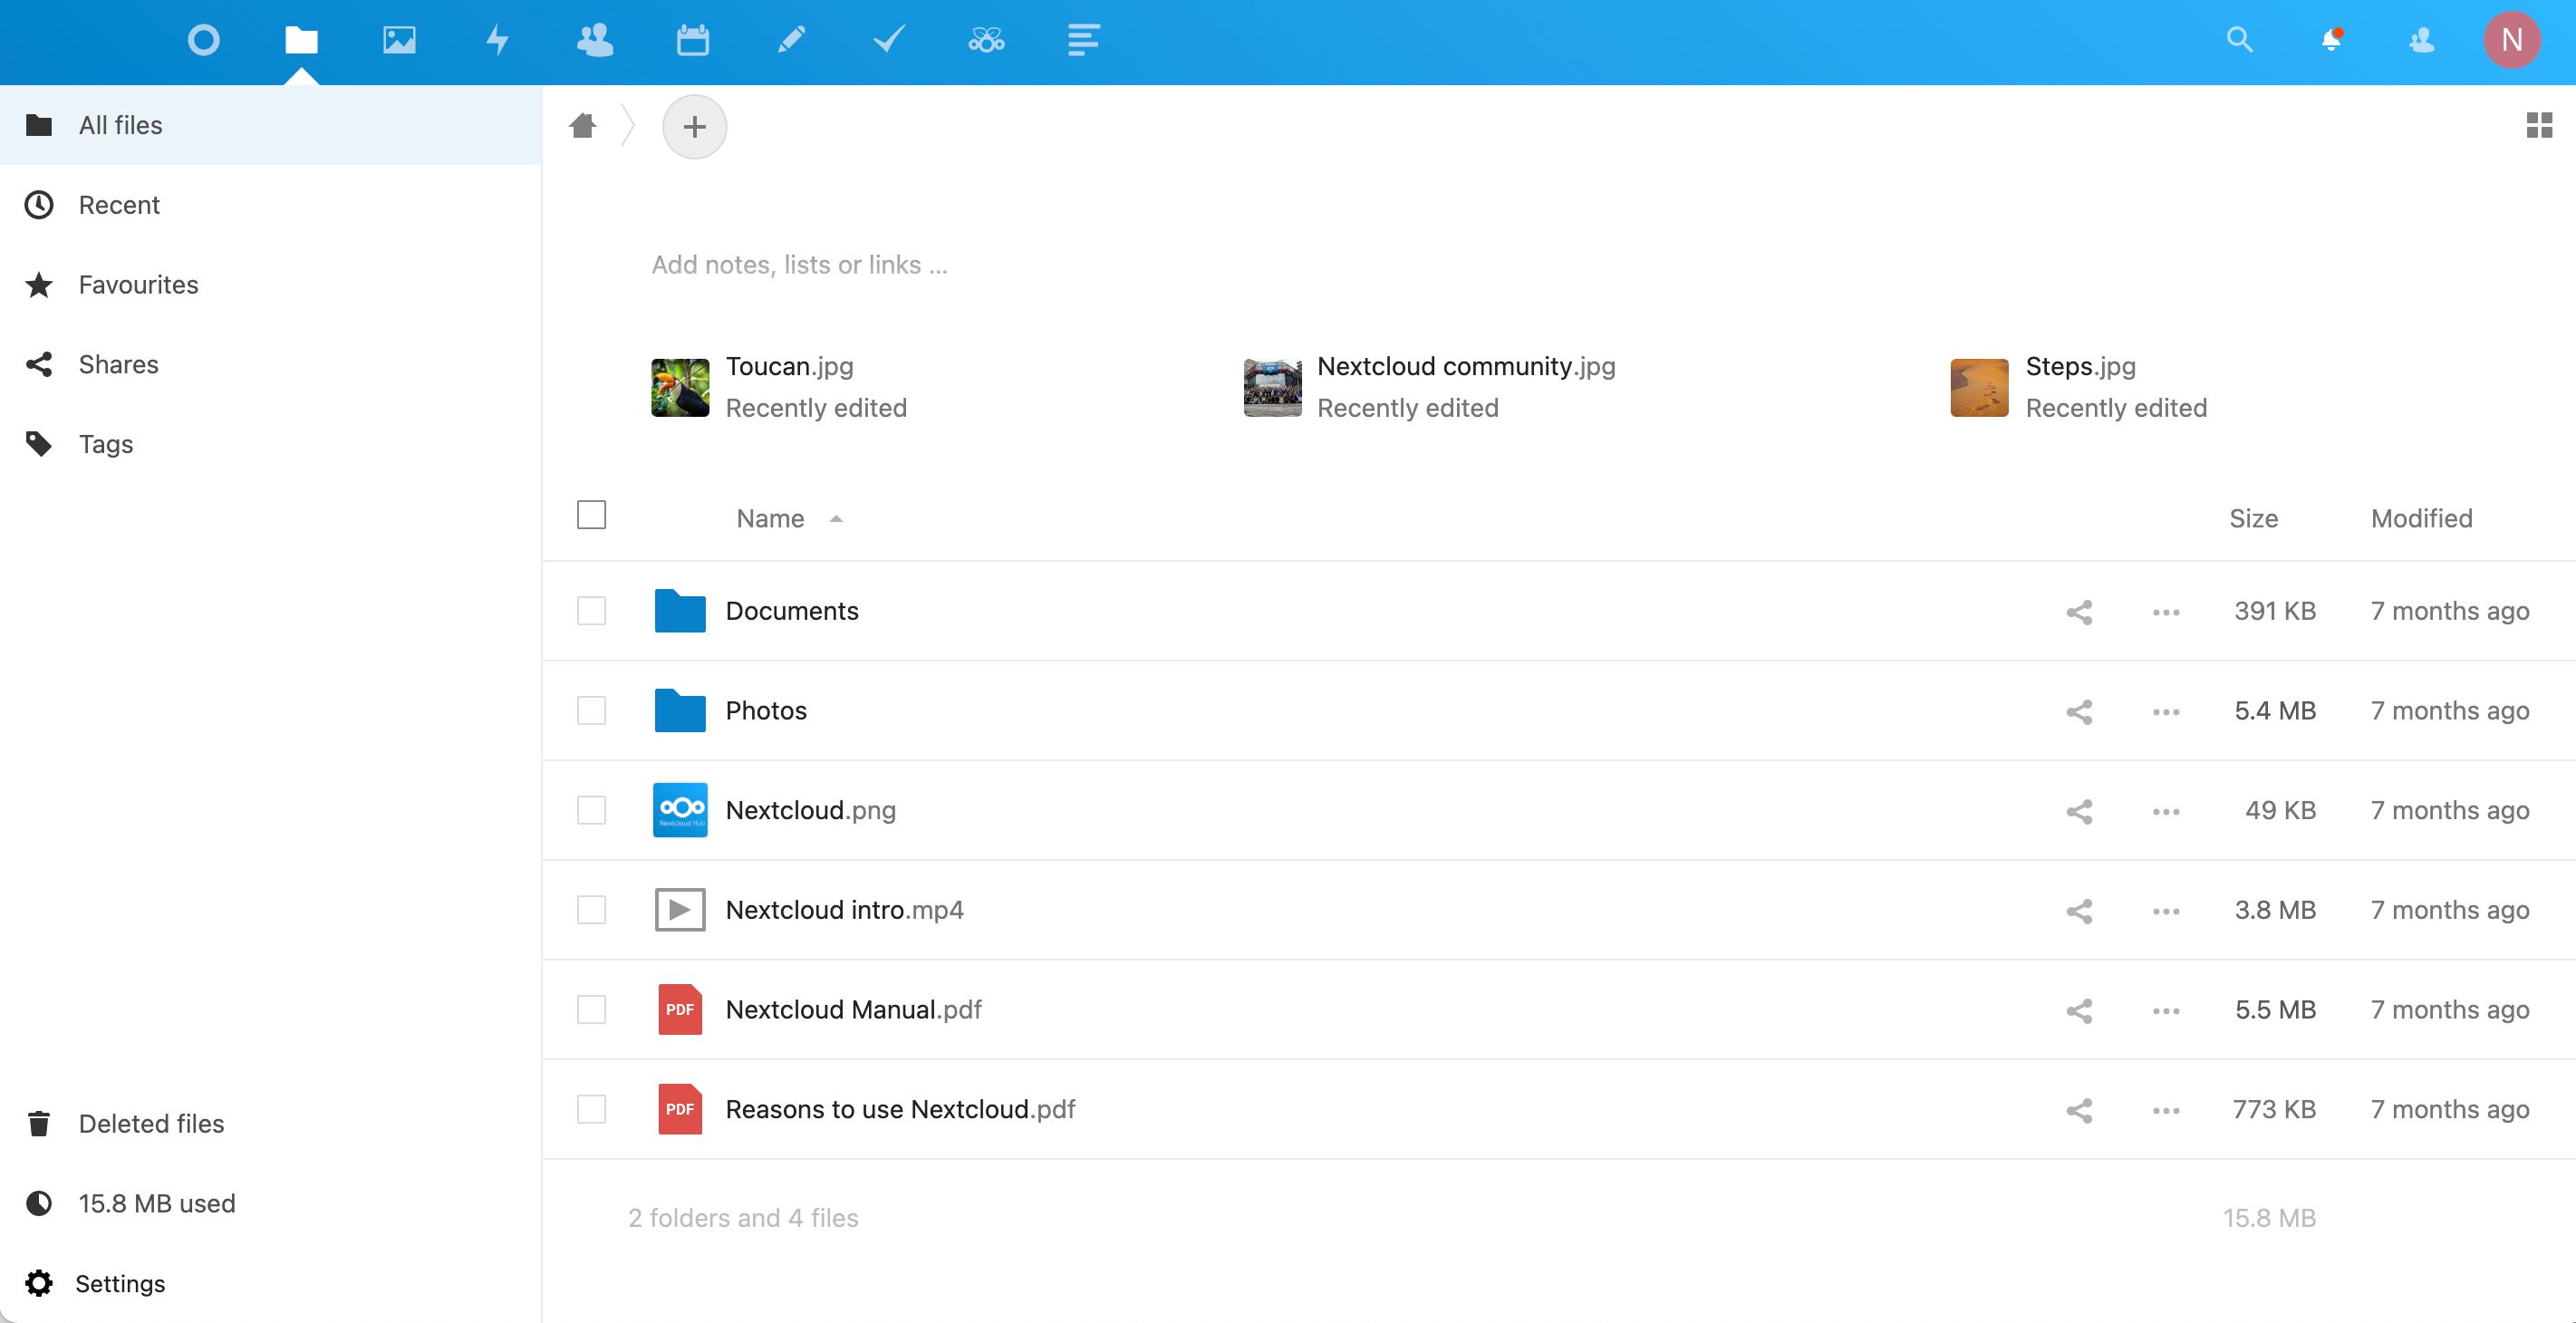
Setting Up OwnCloud
OwnCloud is an open-source cloud storage solution that works great with Raspberry Pi. Here’s how you can set it up:
- Install a web server like Apache or Nginx on your Raspberry Pi.
- Download and install OwnCloud on your Raspberry Pi.
- Configure OwnCloud to connect to your cloud storage provider.
- Start uploading and managing files through the OwnCloud interface.
With OwnCloud, you can create your own private cloud storage system, giving you full control over your data.
Automating Cloud Tasks with Raspberry Pi
Automation is a key aspect of cloud management, and Raspberry Pi makes it easy to automate various tasks. By automating repetitive tasks, you can save time and focus on more important things.
Using Cron Jobs
Cron jobs are a great way to automate tasks on your Raspberry Pi. Here’s how you can set them up:
- Open the terminal on your Raspberry Pi.
- Type ‘crontab -e’ to edit the cron job list.
- Add your desired tasks and schedule them to run at specific intervals.
- Save and exit the editor, and your tasks will start running automatically.
With cron jobs, you can automate tasks like backups, data synchronization, and more, ensuring your cloud management process runs smoothly.
Monitoring Cloud Resources with Raspberry Pi
Monitoring is essential for effective cloud management, and Raspberry Pi can help you keep an eye on your cloud resources. By setting up monitoring tools, you can ensure your cloud services are running optimally.
Using Grafana and Prometheus
Grafana and Prometheus are powerful monitoring tools that work well with Raspberry Pi. Here’s how you can use them:
- Install Grafana and Prometheus on your Raspberry Pi.
- Configure them to collect data from your cloud resources.
- Create dashboards to visualize the data and monitor performance metrics.
With Grafana and Prometheus, you can gain valuable insights into your cloud resources, helping you make informed decisions.
Troubleshooting Common Issues
As with any technology, you might encounter some issues while managing cloud services with Raspberry Pi. Here are some common problems and how to fix them:
- Connection Issues: Check your network settings and ensure your Raspberry Pi is connected to the internet.
- Software Errors: Update your software regularly to ensure compatibility and fix any bugs.
- Performance Problems: Optimize your setup by reducing unnecessary processes and ensuring your Raspberry Pi has enough resources.
By troubleshooting these issues, you can keep your cloud management system running smoothly.
Best Practices for Raspberry Pi Cloud Management
To get the most out of your Raspberry Pi cloud management setup, here are some best practices to follow:
- Regular Backups: Always keep backups of your data to prevent loss in case of failure.
- Security Measures: Implement security protocols like firewalls and encryption to protect your cloud resources.
- Updates and Maintenance: Keep your software and hardware up to date to ensure optimal performance.
By following these best practices, you’ll be able to maintain a robust and reliable cloud management system.
Conclusion
In this Raspberry Pi cloud management tutorial, we’ve covered everything you need to know to get started with managing cloud services using your Raspberry Pi. From setting up your device to connecting it to cloud platforms, managing storage, automating tasks, and monitoring resources, you now have the tools and knowledge to take your cloud management skills to the next level.
So, what are you waiting for? Dive in and start exploring the endless possibilities of cloud management with Raspberry Pi. And don’t forget to share your experiences and tips in the comments below. Happy cloud managing, buddy!